Tutorial: Chatbot site assistant
Published on 27/11/2024
TLDR A chatbot is a great way to drive interaction on a site. It’s relatively easy to set up (if you know what you’re doing) and can improve customer experience, reduce operational costs and is available 24/7.
For a live example of the chatbot you can visit my services page and if you would like a chatbot for your site feel free to contact me.
In this article I will be breaking down the steps to securely implement a chatbot in an Astro site. It will use ChatGPT for the backend LLM and we will be defining its behaviour in order for it to give contextually correct responses.

Roles in ChatGPT
When making requests to ChatGPT there are three distinct roles which influence the response. The user, assistant and system role.
The user role represents the human interacting with the ai model. When sending a message with the user role, were essentially simulating a users input in the conversation. The ai model will interpret this message as coming from the user and generate a response accordingly.
The assistant role represents the ai model itself. When the api returns a response, it will include a message with the assistant role. This message contains ai-generated content that serves as the response to the users input.
The system role is a powerful feature of the chatgpt api that allows us to set the context and behaviour of the ai assistant. Unlike the user and assistant roles, which are associated with specific messages, the system role provides a way to define the overall characteristics and behaviour of the ai.
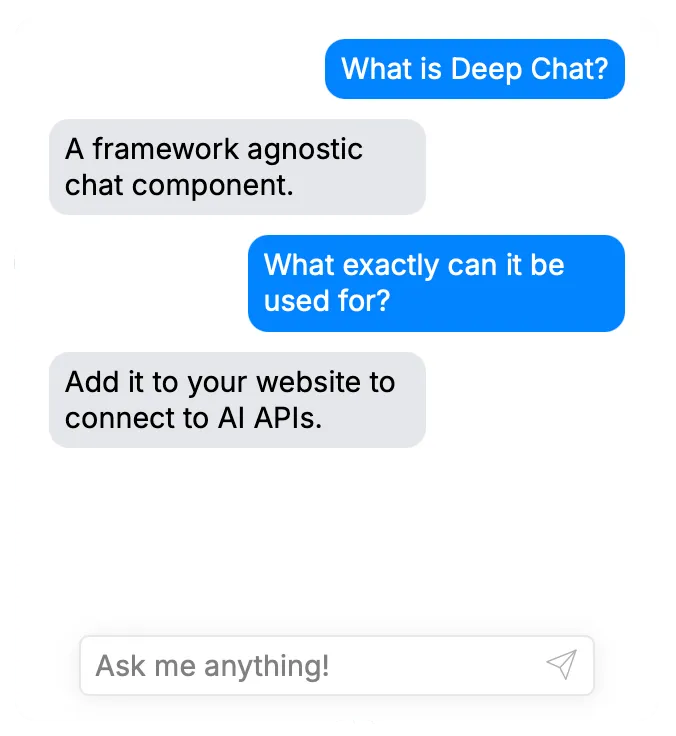
Deep Chat example
Adding a chat component
The first step is to add the chat component. To streamline the process I will be using an open source dependency DeepChat. Setup of this is pretty easy, simply create an astro component ‘Chat.astro’. The script tag imports the dependency and the deep-chat tag contains a number of properties we will define.
<script type="module" src="https://unpkg.com/deep-chat@2.0.1/dist/deepChat.bundle.js"></script>
<deep-chat
connect='{"url":"/api/chatbot.json", "method": "POST"}'
introMessage='{"text": "Hi I'm an AI helper, do you have any questions?"}'
requestBodyLimits='{"totalMessagesMaxCharLength":999, "maxMessages":10}'>
</deep-chat>Chatbot.astro
Connect: Defines the URL and method we will be calling for our backend (we will later create the API).
introMessage: A message which is displayed when the chat first loads.
requestBodyLimits: This is essential to maintain a cohesive conversation. This defines how many historic messages we will send to the backend as part of every new request. Without this the LLM has a serious case of amnesia.
The backend
So why do we need a backend if we’re using ChatGPT?
Firstly, we do this to hide our API key which is necessary to use ChatGPT. I want to make it clear, never put your API key in public code. If your key is in your html or any publicly accessible code (think GIT repo) then it’s possible for anyone to use your key… the key you pay the bill for.
To ensure this key remains secret it’s necessary to have a backend API and to use environment variables to ensure the key isn’t stored in the code repo.
ChatBot API requirements
- Receive chat conversation data
- Get the API key environment variable
- Define the system role
- Make a call to ChatGPT (using API key)
- Process response and return it
export const prerender = false;

import type { APIRoute } from "astro";
import OpenAI from "openai";

const openai = new OpenAI({
	apiKey: import.meta.env.OPEN_API_KEY,
});

export const POST: APIRoute = async ({ request }) => {
	if (request.headers.get("Content-Type") === "application/json") {
		const body = await request.json();
		const messages = body["messages"];

		// Replace key to 'content' rather than 'text'
		let str = JSON.stringify(messages);
		str = str.replace(/"text":/g, '"content":');

		// History of the chat, including latest request.
		const json = JSON.parse(str);

		try {
			const response = await openai.chat.completions.create({
				model: "gpt-4o",
				messages: [
					{
						role: "system",
						content:
							"You are an AI assistant helping demo a tutorial on how to create a chatbot. All you do is provide simple responses informing the user about the benefits of AI. You are not evil.",
					},
					...json,
				],
				temperature: 0,
				max_tokens: 999,
			});
			return new Response(
				JSON.stringify({ text: response.choices[0].message.content, role: "assistant" }),
				{
					status: 200,
					headers: {
						"Content-Type": "application/json",
					},
				},
			);
		} catch (err) {
			if (err instanceof Error) {
				return new Response(JSON.stringify({ text: err.message }), { status: 500 });
			}
		}
	}

	return new Response(
		JSON.stringify({
			text: "Service currently unavailable, please try again later or [contact me](https://chris.aldred.dev/contact) for help.",
			role: "assistant",
		}),
		{
			status: 500,
		},
	);
};
chatbot.json.ts
Make sure to edit the content variable for the system role. In this example we’re instructing it to give positive answers about AI chatbots. Your prompt is specific to your scenario. Below is an example prompt for a small bakery business.
“You are an assistant for a small bakery business. The opening hours are Monday to Friday 9:00 to 17:00. The bakery sells pastries and can make bespoke cakes by demand. It is located at ‘3 bake street, Puddington’. Answer no more than three questions before directing them to contact on +44123456789”
To make this API accessible we need to do two things, firstly whack the file you’ve just made in the following directory “src/pages/api/chatbot.json.ts” This ensures the API will be accessed via the endpoint “/api/chatbot.json” which we earlier pointed the DeepChat component to.
Secondly we need to enable an SSR adapter for astro. Without this the code will not be able to execute.
-
Edit your astro.config file
-
Add the necessary import (specific to your hosting see astro adapters)
import netlify from "@astrojs/netlify"; -
Add the adapter into the config
const config: AstroUserConfig = defineConfig({
   	site: "https://chris.aldred.dev",
   	output: "hybrid",
   	adapter: netlify({ imageCDN: false, edgeMiddleware: false })
   });
Final bits
Cool, we are almost there. We have set up a component for the chat. We have also created a backend API which interfaces with the ChatGPT servers. Now all we have to do is add the API key as an environment variable and build the site.
Im using Netlify but this is pretty easy to do with Vercel , AWS or any other hosting platform. In the API code we reference an env variable called OPEN_API_KEY, so I’m going to go ahead and add this.
This comes under Site configuration -> Environment variables. I simply select add variable, set the key as OPEN_API_KEY, mark it as secret (limits the scope of access) and paste my API key in as the value.
Give your site a build, you should now have a functional chatbot!
I hope you’ve enjoyed this tutorial, if you have any questions or need any assistance feel free to contact me.